

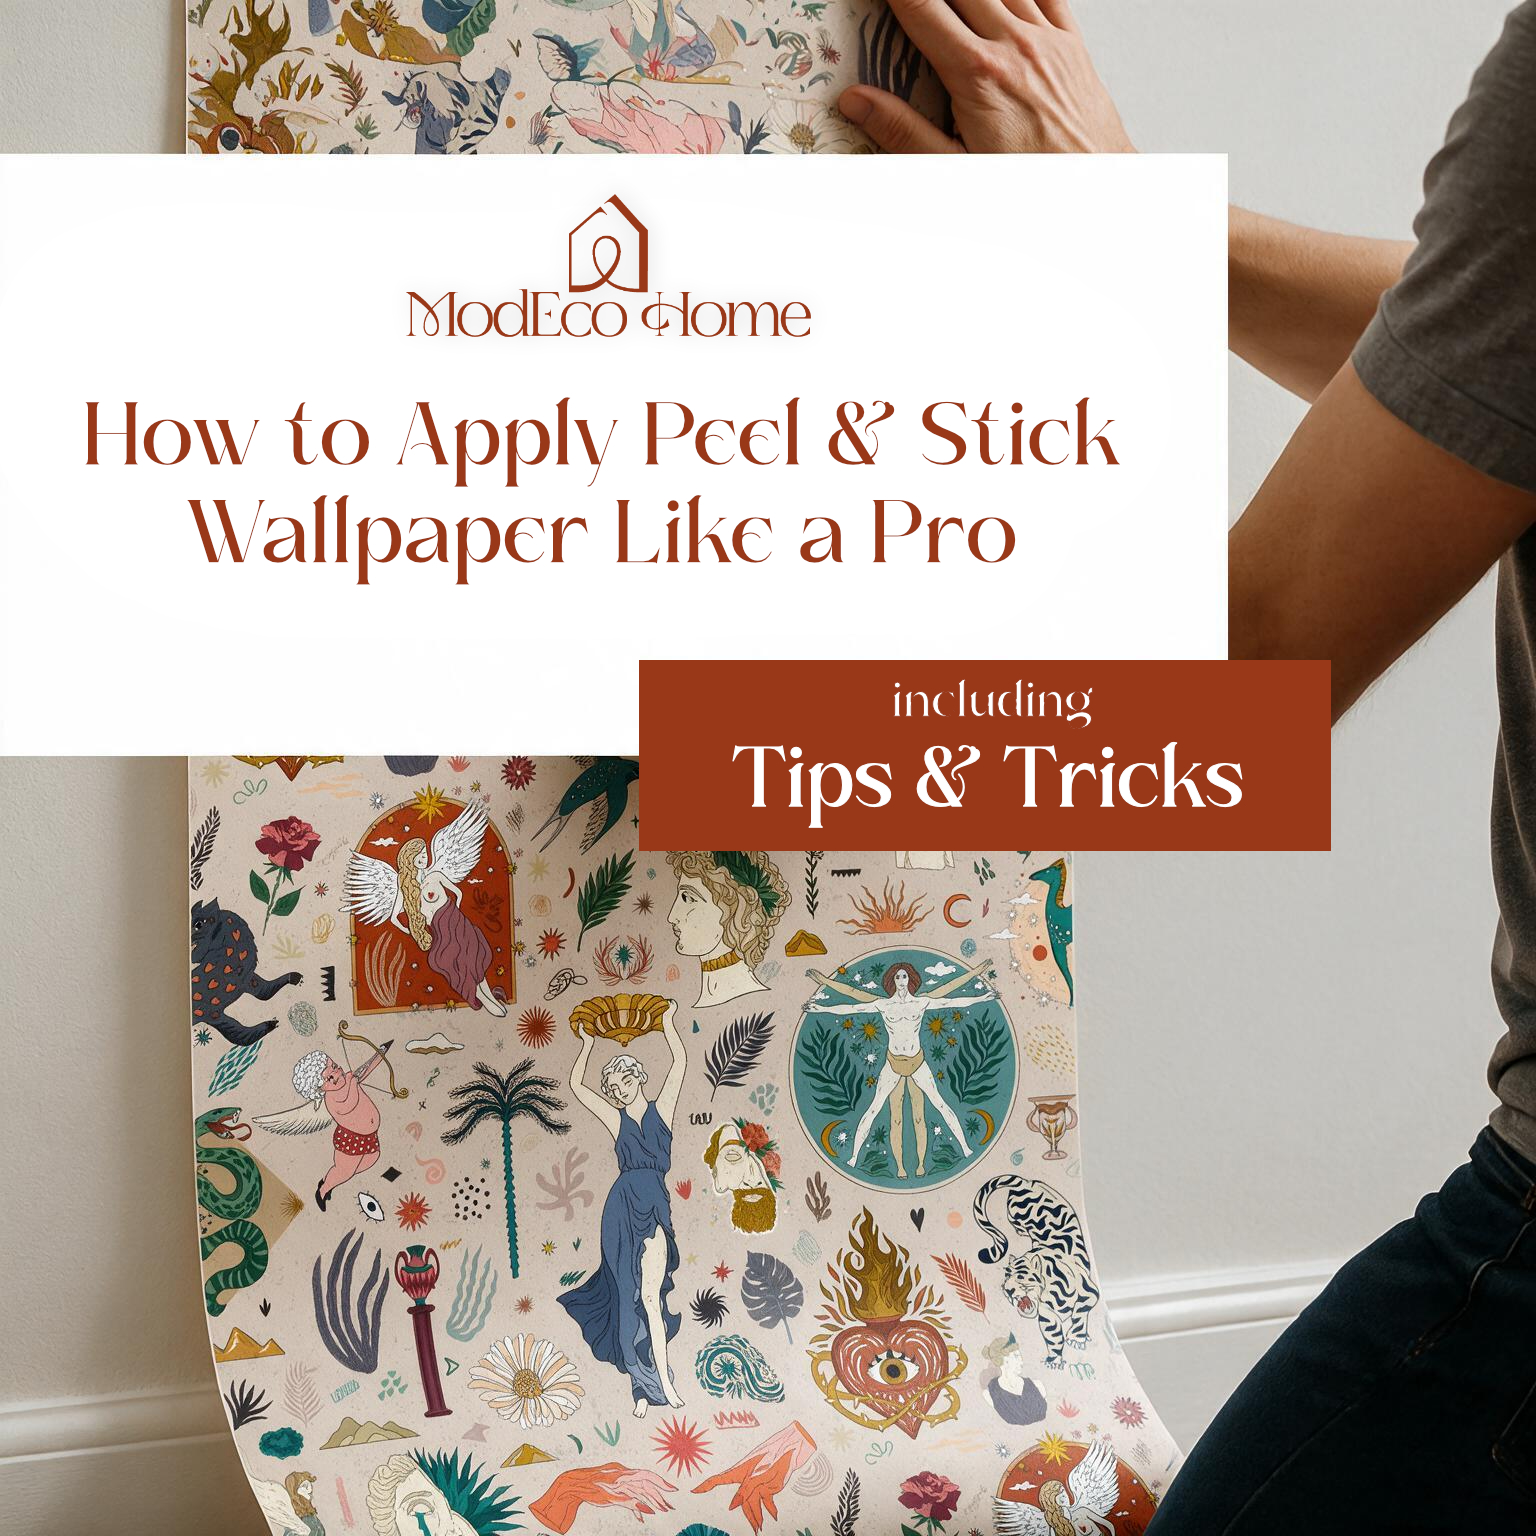
Peel and stick wallpaper is one of the easiest ways to transform your home, whether you’re creating a feature wall, refreshing a bedroom or updating a rental property. Unlike traditional wallpaper, there’s no paste, no soaking and no mess, simply peel away the backing paper and apply. We have created our very own ‘How to Apply Peel and Stick Wallpaper like a pro – A Guide’.
At ModEco Home, our peel and stick wallpapers and murals are designed for easy installation and a professional finish. With the right preparation and technique, you can achieve beautiful results that look like they’ve been installed by an expert.
Here’s our step-by-step guide.
Before You Start
Preparation is essential for a successful installation.
Before applying your wallpaper, make sure your walls are:
- Clean
- Dry
- Smooth
- Free from dust, grease and loose paint
Fill any holes or cracks and lightly sand rough areas before wiping the wall clean.
Check Your Paint
Freshly painted walls should not be wallpapered immediately.
Although paint may feel dry after a day or two, it continues to cure and release gases for several weeks. Applying wallpaper too soon can trap these gases behind the adhesive, affecting its performance.
We recommend waiting at least 3–4 weeks after painting before installing peel and stick wallpaper.
If your walls have a matte or flat paint finish, lightly sand the surface, remove any dust, and apply a suitable wallpaper primer before installation. Flat paints can be porous and chalky, reducing the adhesive bond if left untreated.
For best results, avoid applying peel and stick wallpaper to:

- Damp walls
- Fresh plaster
- Existing wallpaper
- Textured surfaces
- Flaking or unstable paint
Installing a ModEco Home Wall Mural
If you’ve purchased one of our wall murals, rather than a repeating wallpaper pattern, there are a few extra preparation steps.
Murals are supplied as numbered panels (1, 2, 3, 4, etc.) that combine to create one complete image.

At least 24 hours before installation, unpack your wallpaper and lay every panel flat in the room where it will be installed. This allows the wallpaper to acclimatise to the room’s temperature and humidity while giving you the opportunity to:
- Check all panels have been received.
- Confirm the mural image is correct.
- Familiarise yourself with the installation order.
Always install mural panels in the numbered sequence provided.
What You’ll Need
- Spirit level or laser level
- Tape measure
- Pencil
- Wallpaper smoother (squeegee)
- Sharp craft knife
- Steel ruler
- Soft cloth
- Step ladder
Step 1 – Draw Your Starting Line
Using a spirit level, draw a perfectly straight vertical line where your first panel will begin.

Never rely on the corner of the room, as very few walls are perfectly straight.
Your first panel determines the position of every panel that follows, so take your time.
Step 2 – Peel the Backing Paper
Starting at the top of the panel, peel away approximately 30cm (12 inches) of the protective backing paper.
Leave the remaining backing attached until you’re ready to continue.
Step 3 – Position the First Panel
Carefully align the wallpaper with your guideline before pressing the top section onto the wall.
If you’re installing a mural, ensure you’re starting with Panel 1.
ModEco Home peel and stick wallpaper can be gently repositioned during installation if small adjustments are needed.
Step 4 – Smooth from Top to Bottom
Using a wallpaper smoother or squeegee, begin smoothing the wallpaper onto the wall.
Work:
- From top to bottom
- From the centre towards the edges
This removes trapped air and creates a strong adhesive bond.
Step 5 – Continue Down the Wall
Gradually peel away more of the backing paper as you work downwards, smoothing the wallpaper as you go.
Avoid removing the entire backing sheet at once, as this makes the wallpaper much harder to control.
Do not drag or stretch the wallpaper during installation.
If peel and stick wallpaper is stretched while being applied, it may naturally shrink back over time, causing uneven joins or pattern misalignment.
Instead, allow the wallpaper to settle naturally onto the wall.
If necessary, gently peel back a small section and reposition it.
Step 6 – Install the Remaining Panels
When hanging additional panels, carefully match the pattern before smoothing the wallpaper onto the wall.
All ModEco Home wallpapers are designed to be installed using butt joints.
This means:
- Do not overlap the panels.
- Install each panel edge to edge, leaving no gaps or overlaps.

For wall murals, continue installing the panels in their numbered order.
Stand back regularly to check that both the pattern and panel alignment remain correct.
Pro Tip from the ModEco Home Team
Installing a Dark-Coloured Wallpaper?
Many dark peel and stick wallpapers have a white woven backing. On darker designs, the white cut edge can sometimes be visible where two panels meet.
Before hanging each strip, use a felt-tip marker or paint pen that closely matches the darkest colour in your wallpaper.
Lightly colour the cut edge only—not the printed face of the wallpaper.

- Use a marker that’s close to the darkest shade in the design.
- Apply it gently to avoid bleeding onto the print.
- A felt-tip marker gives excellent control.
- Allow it to dry for around one minute before installation.
This simple trick helps disguise white seams and creates a much cleaner, more professional finish.
Step 7 – Trim the Wallpaper
Once each panel has been fully installed, trim away the excess at the ceiling, skirting boards and corners using a sharp craft knife and steel ruler.
For the cleanest finish, replace your blade regularly.
Step 8 – Final Checks
Inspect the finished wall and ensure:
- Patterns line up correctly.
- Seams are neat.
- Edges are fully adhered.
- Any remaining air bubbles have been smoothed away.
After 24 hours, go over the wallpaper once more with your wallpaper smoother, paying particular attention to the seams and edges. This final pass helps ensure the adhesive has bonded evenly across the entire wall.
Common Mistakes to Avoid
- Applying wallpaper to freshly painted walls.
- Installing onto dusty, textured or unstable surfaces.
- Removing all the backing paper before positioning the panel.
- Stretching the wallpaper during installation.
- Overlapping panels instead of using butt joints.
- Hanging mural panels out of sequence.
- Rushing the first panel.
Transform Your Home with ModEco Home
Installing peel and stick wallpaper is a straightforward DIY project when you take the time to prepare properly. By following these simple steps and using the installation techniques recommended by ModEco Home, you can achieve a beautiful, professional-looking finish that will last for years.
Whether you’re creating a striking feature wall or installing one of our bespoke wall murals, our premium peel and stick wallpapers are designed to make decorating your home simple, stylish and enjoyable.


